

I love traditional prayer mats, especially the intricate borders and patterns ancients wove to encourage us to have remembrance of God. Although we might not have the opportunity to make a full sized prayer mat, it is a wonderful experience to weave on a smaller scale.
In this tutorial I’m going to show you how to make your very own (lockdown friendly) weaving loom using supplies that will hopefully be in your recycling bag.
The materials required for this activity are:
- Thick cardboard (approx 25×15 cm, with the lines running horizontally)
- pen or pencil (I used a Sharpie to make it easy to see)
- small ruler
- scissors
- Masking tape or sellotape
- Strong cotton string
- Plastic straw
- Bamboo skewer
- Wool (various colours)
STEP 1: MAKING YOUR WEAVING LOOM

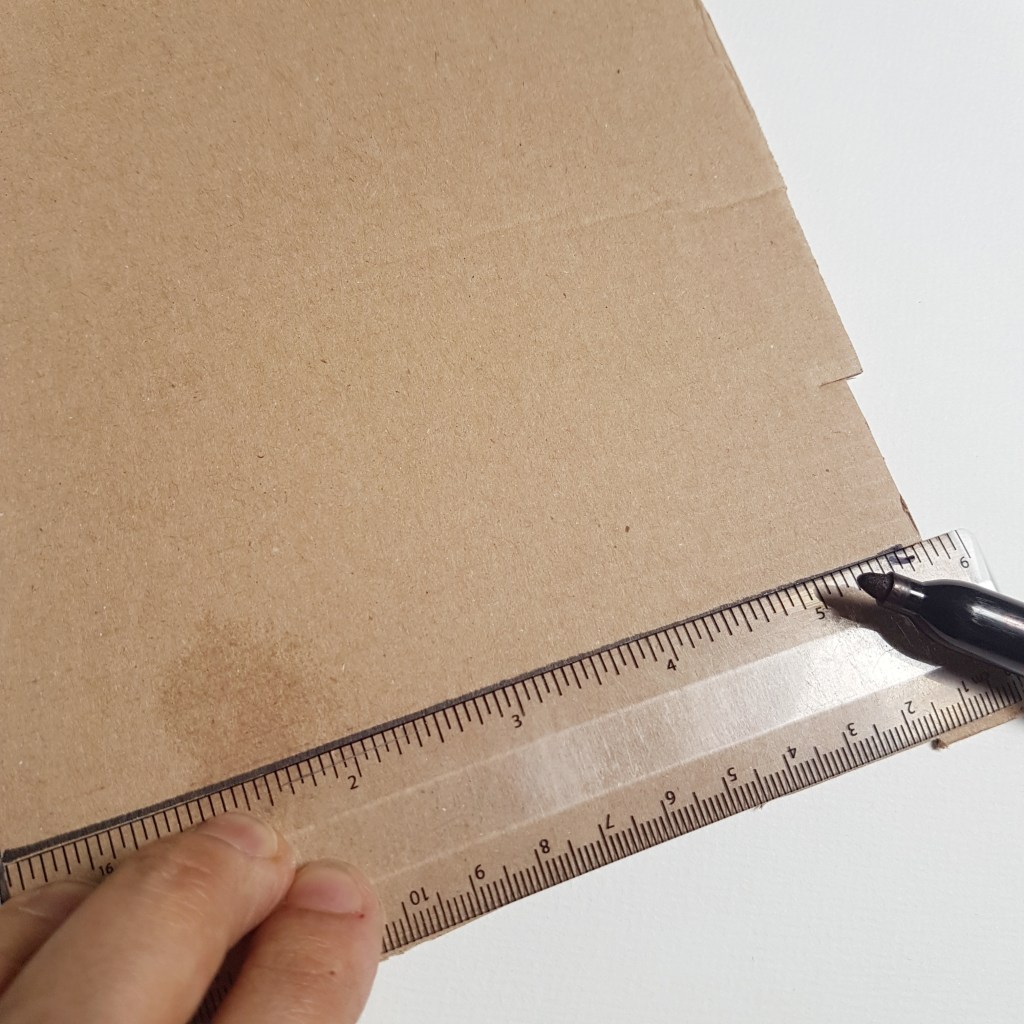
1. Lay your cardboard down portrait style. Draw a straight line, parallel to the bottom edge. 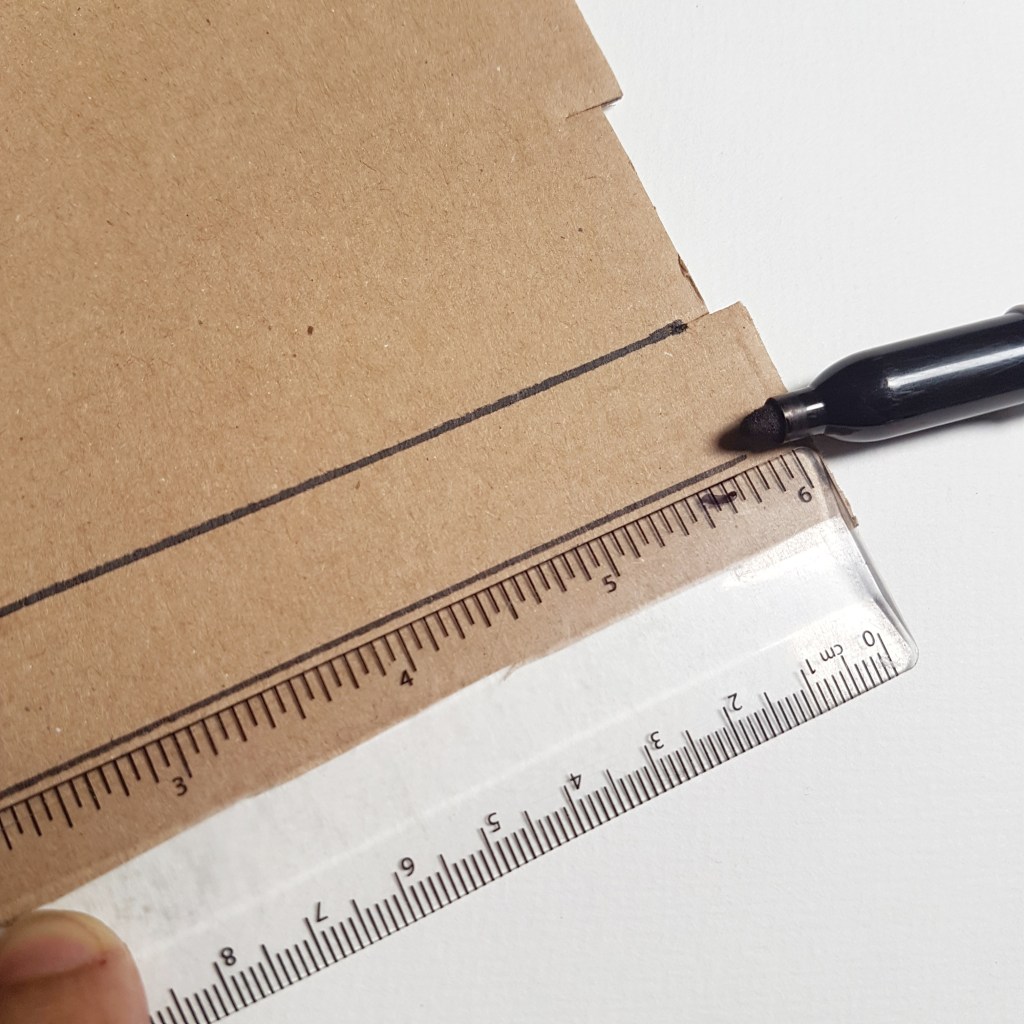
2. Draw another line about one centimetre from the bottom. Rotate your cardboard 180 degrees and repeat the previous two steps. 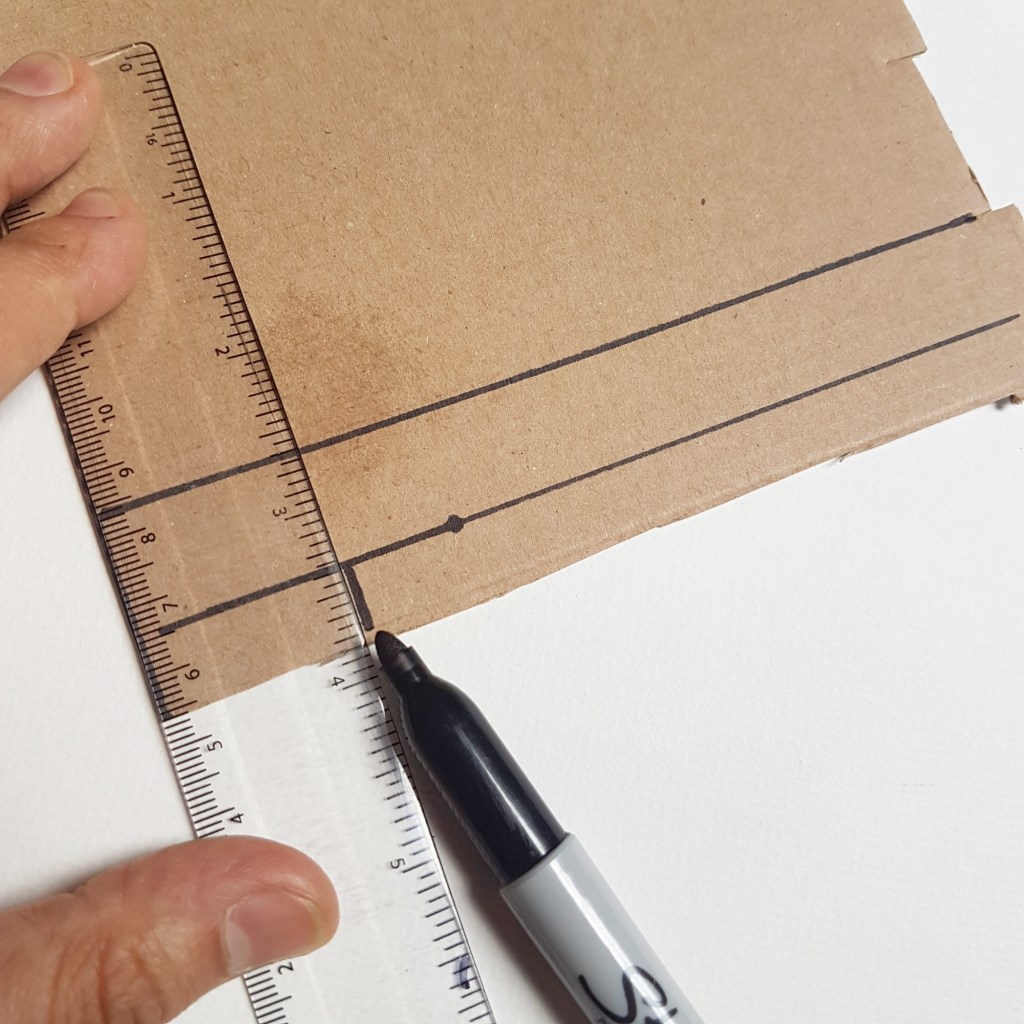
3. Next place your ruler flush on the left hand side of the cardboard. Draw a vertical line from the base up to the first line you meet. 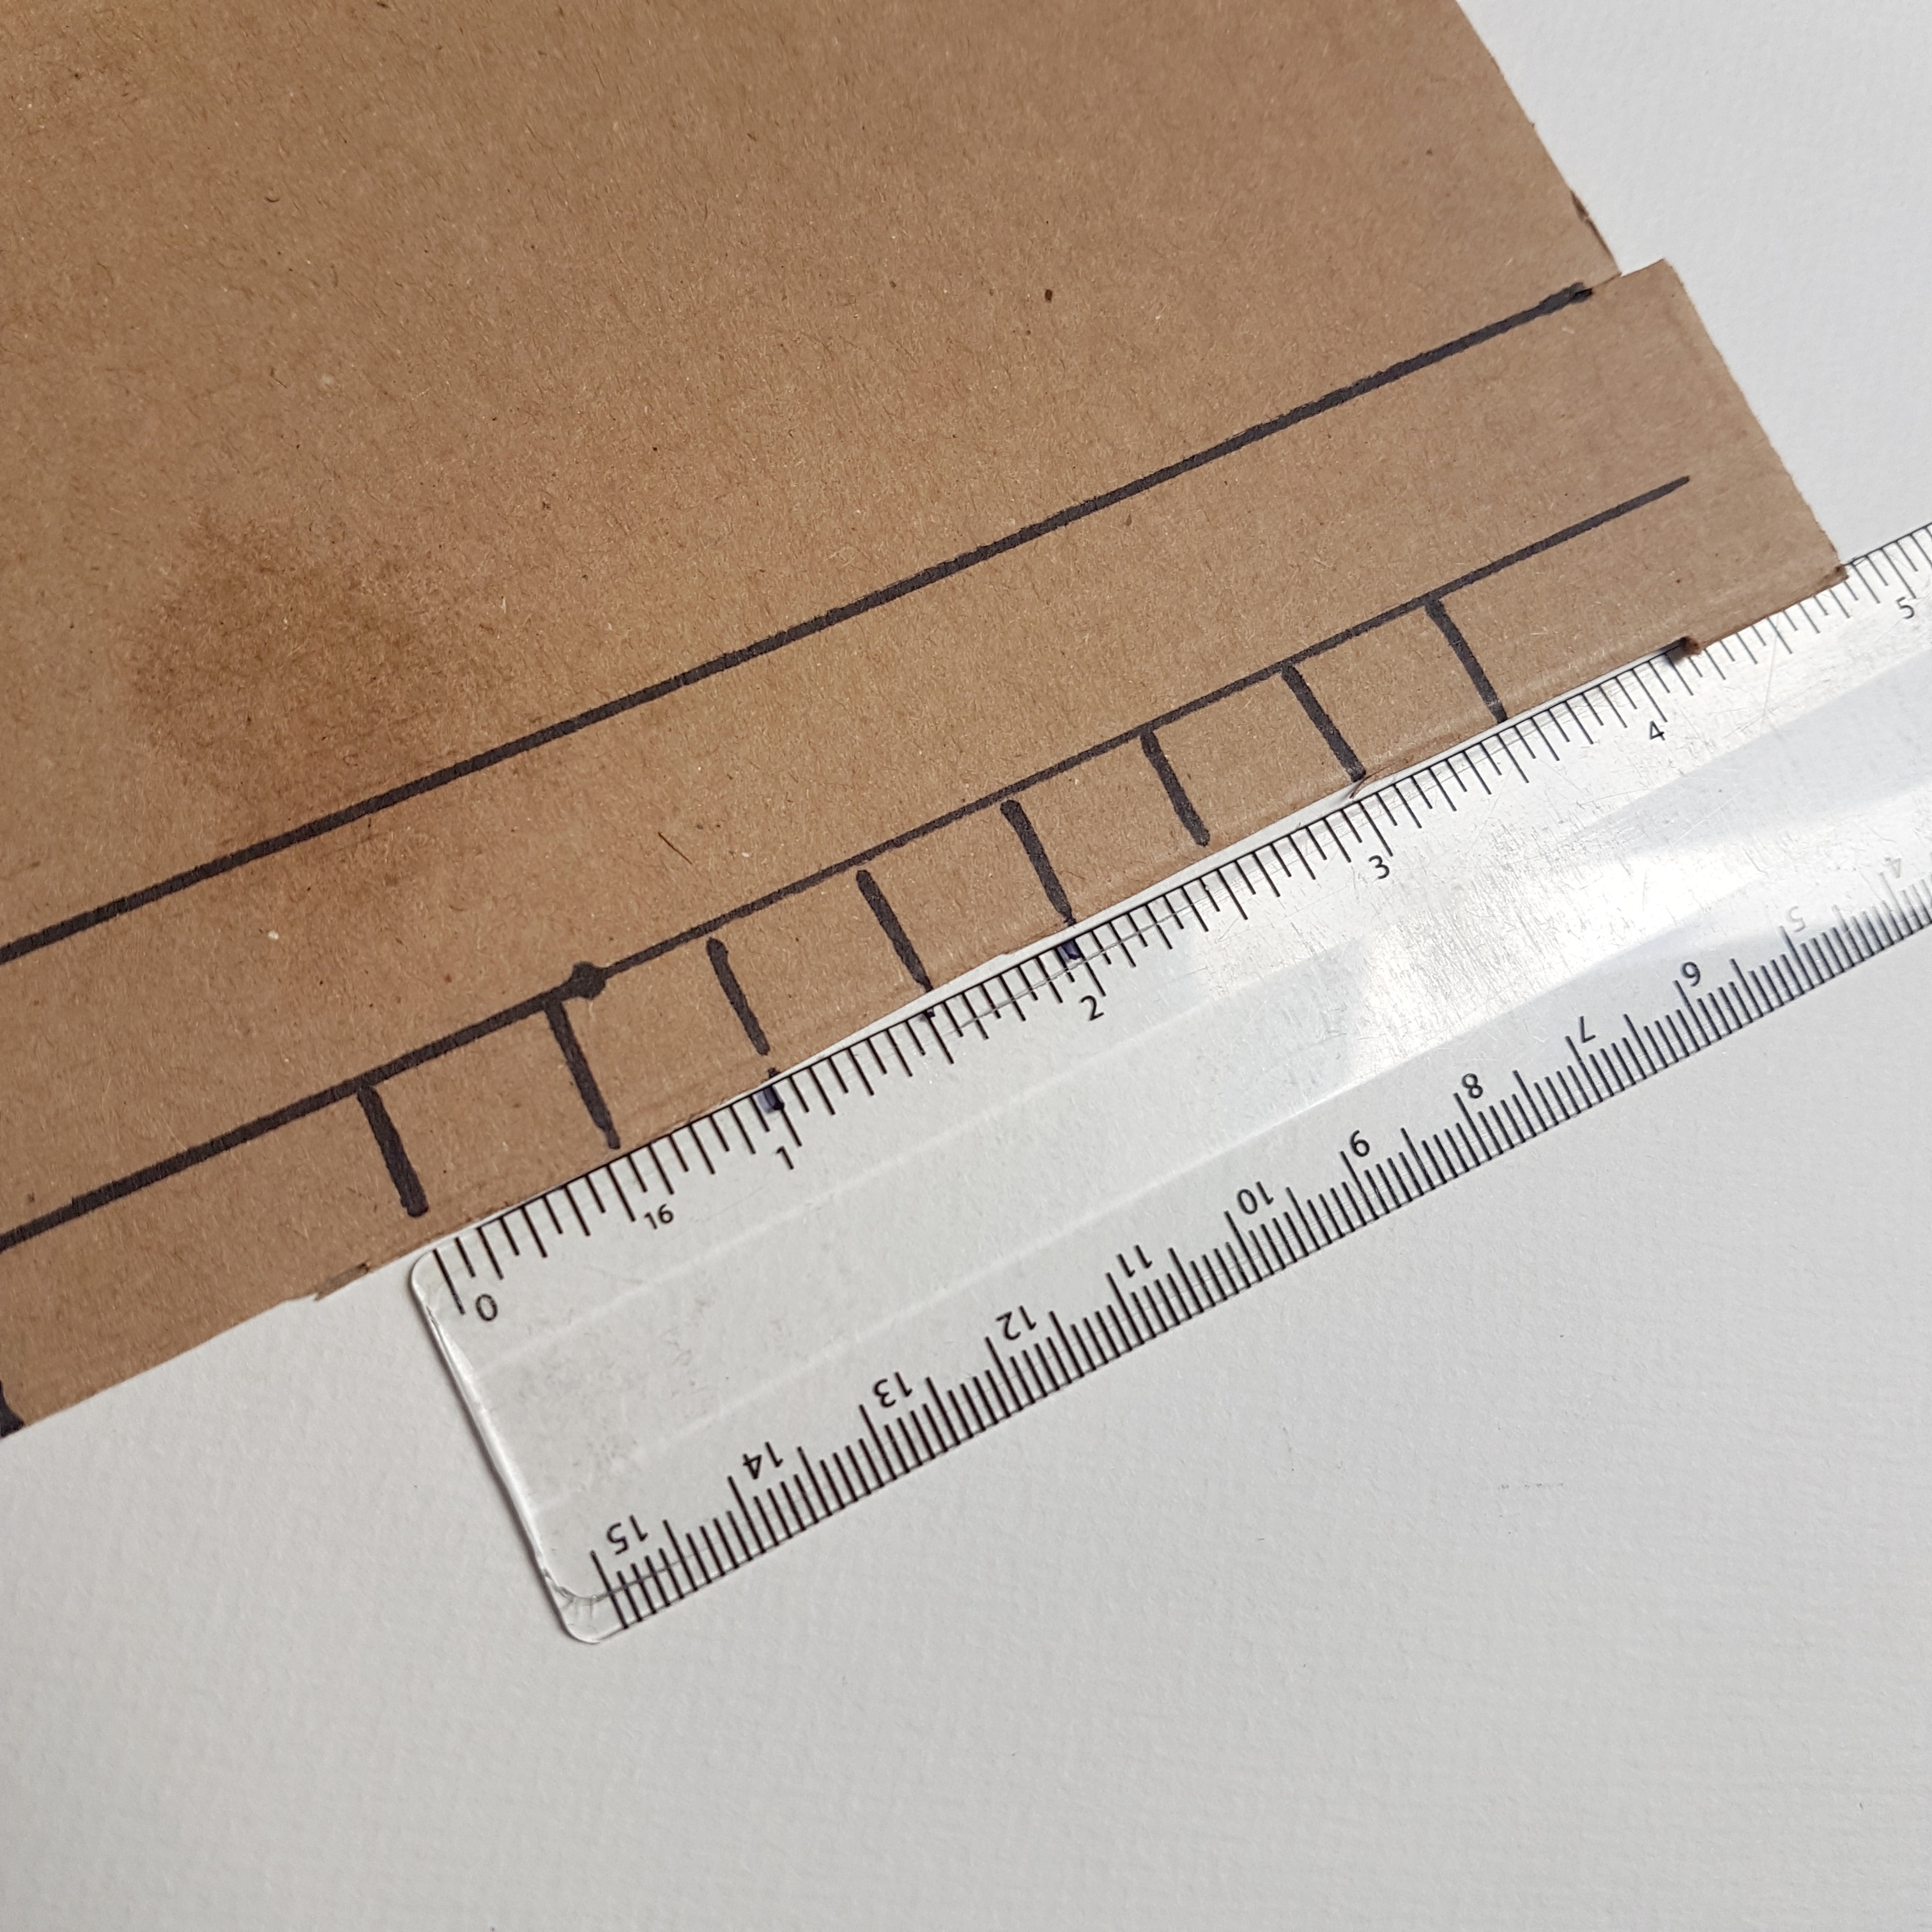
4. Thereafter, moving from left to right, draw another 7 lines spaced 1/2 inch apart. 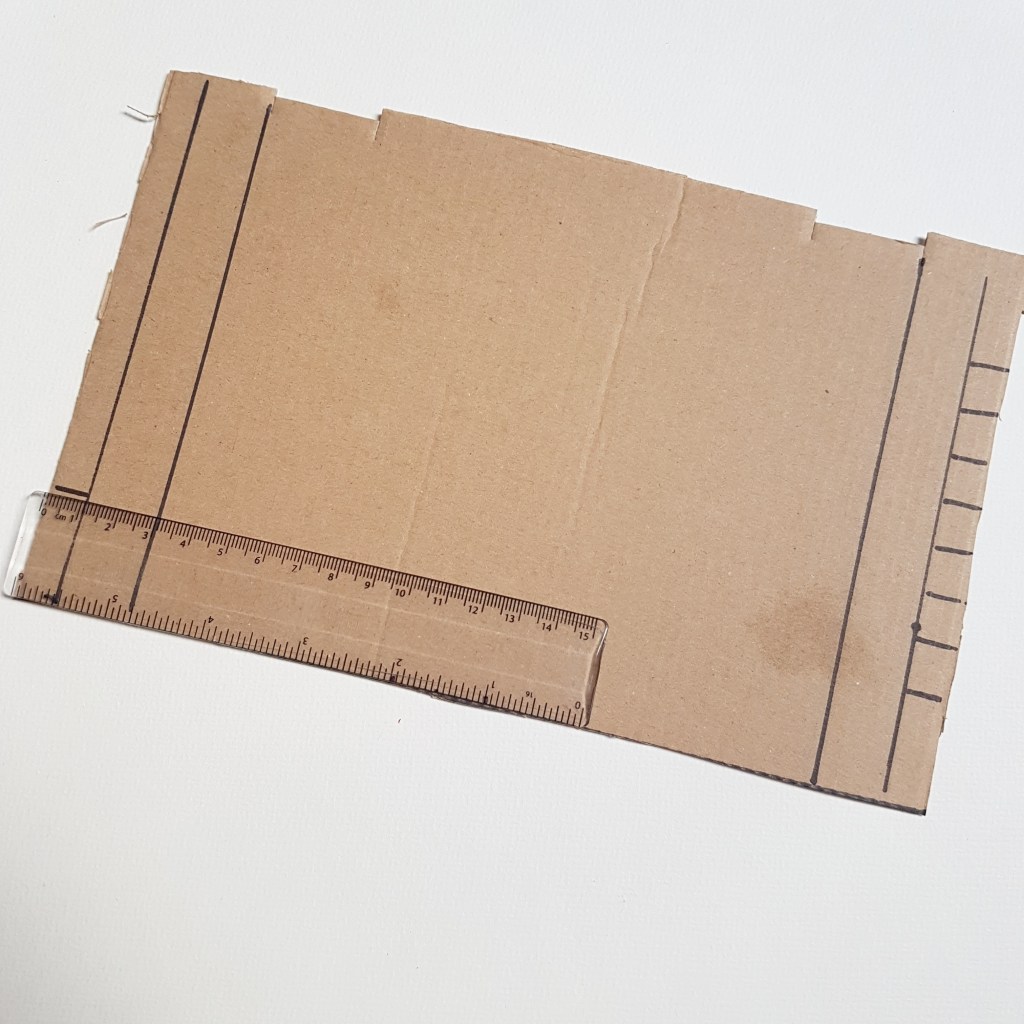
5. To do the top edge, place the ruler flush along the left hand edge and draw a line from the top edge to the first line it meets. This ensures the marking will line up correctly. 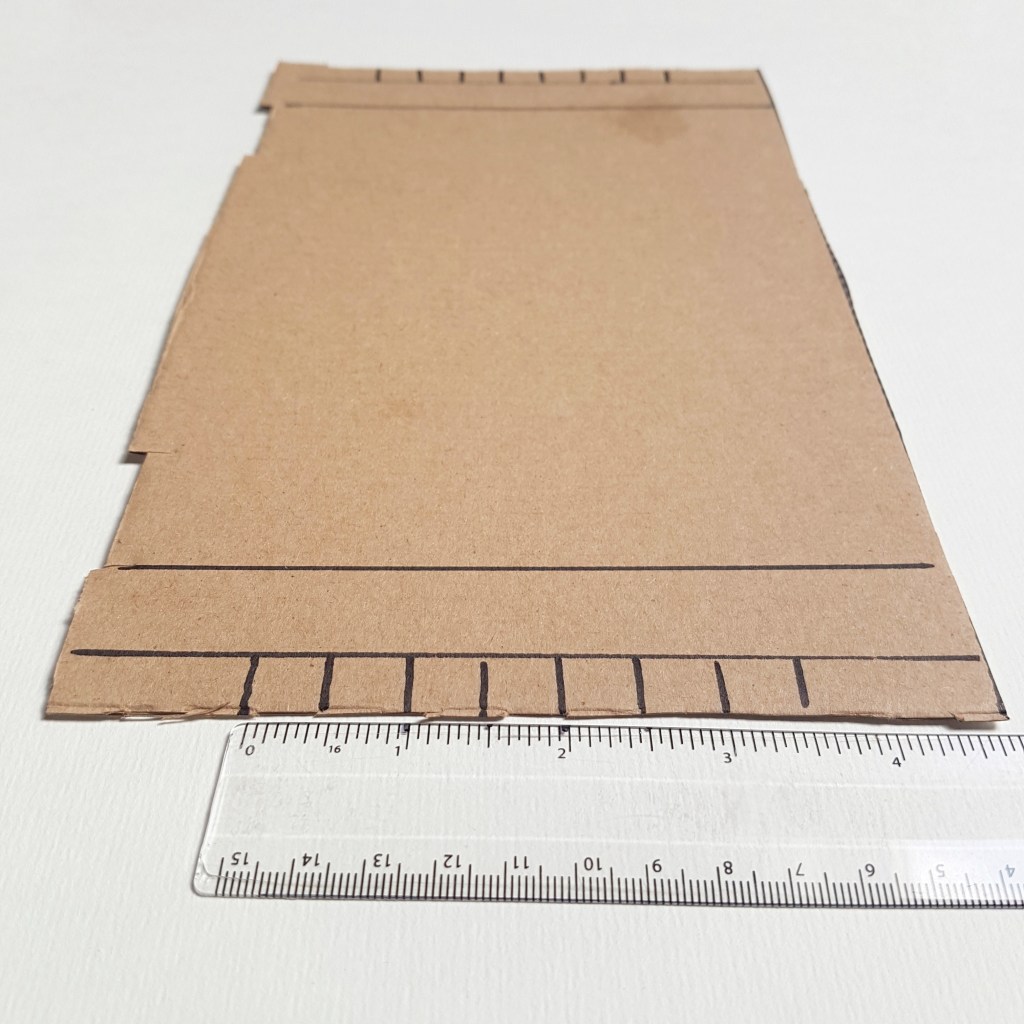
6. Working on the top edge now, moving right to left, draw another series of 7 lines spaced 1/2 inch apart. 
7. Cut the eight short lines on both edges to form a series of equally spaced slots. 
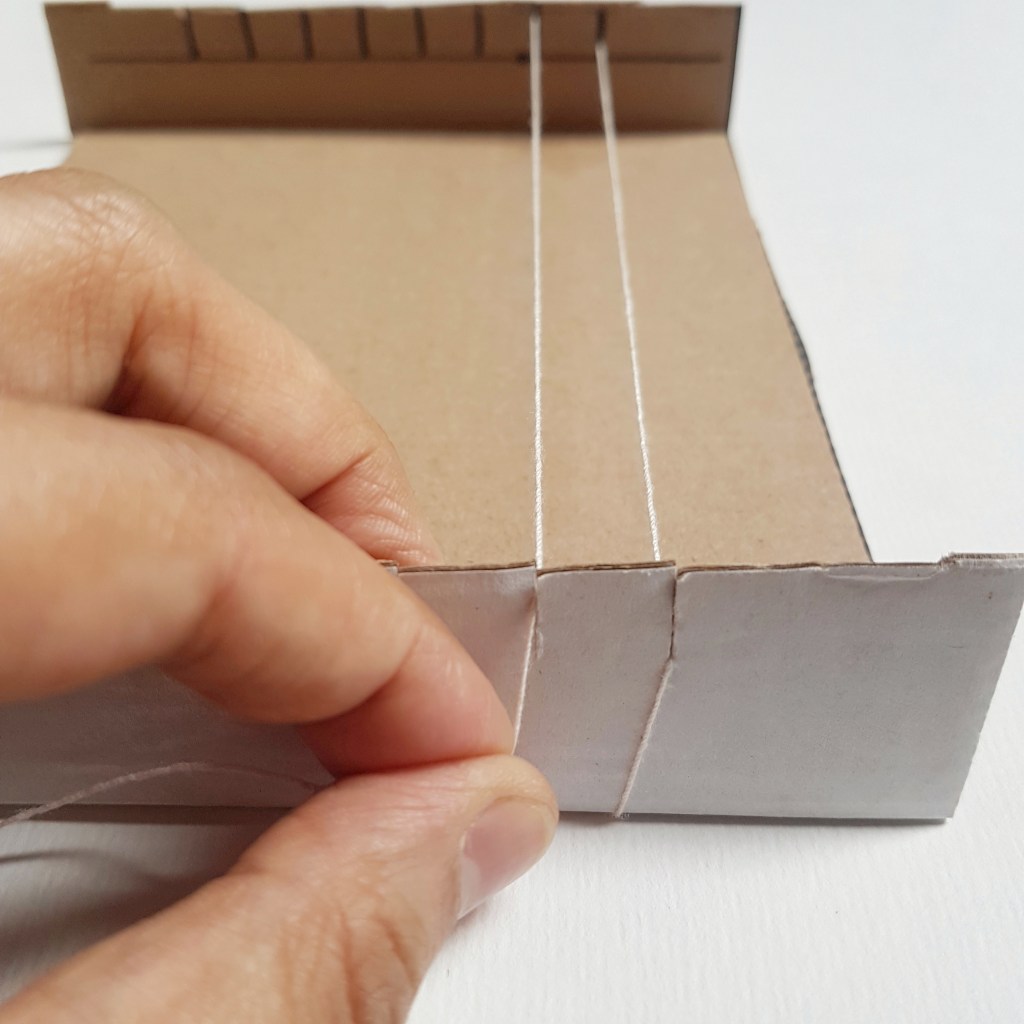
8. Fold the cardboard at the second and third horizontal lines.
Your loom is now ready to be strung up!
Turn your loom over and tape the cotton string along one side of the loom. Start to wrap the string around the loom ensuring the string is in the first slot. Make sure the string is taut as it passes through the corresponding slot on the other side. Repeat this process until you go through each slot and return to the back of the loom. Cut the string and secure it to the back of the loom with more tape. These vertical string is called the warp thread.


Step 2: Begin weaving
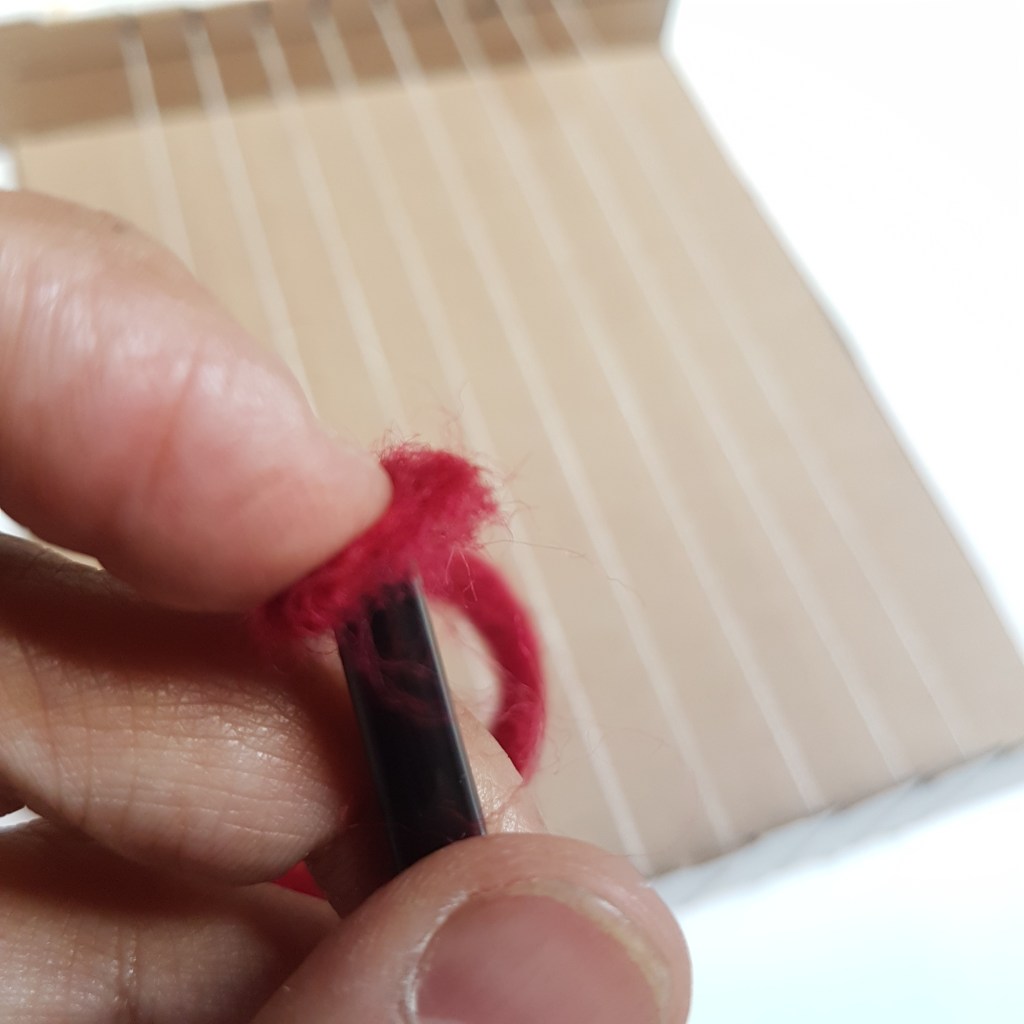
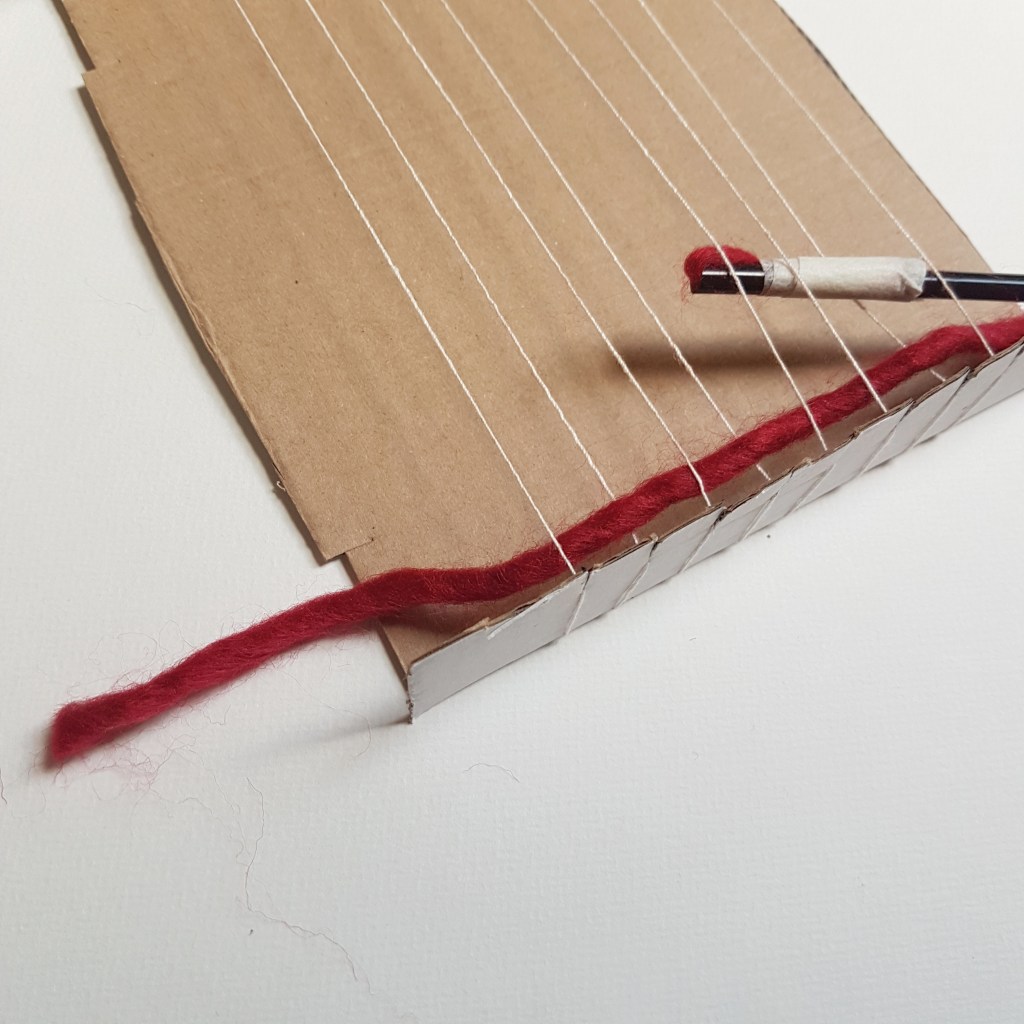
Cut about 1 or two arms lengths of wool from your ball of wool. Some of you may have a thick eyed wool needle to weave with but if you don’t you can improvise with a straw. Push the wool into the end of the straw and push it through using the bamboo skewer. Secure the wool onto the straw with some masking tape.


The wool that you weave with is known as the weft thread. Weave over and under and pull the wool through the warp strings. Make sure you leave a couple of inches of wool which you don’t pull through the warp. Repeat the weave in the opposite direction once you come to the last warp thread.
Continue weaving as desired:
Tips
- Avoid pulling the wool tightly as you weave. Instead gradually pull the wool through. This helps the weave stay the same width throughout.
- Changing the wool: Finish your weave at one end and with a few inches extra cut the current wool. Next change the wool onto your makeshift needle. Start a new line of weaving, leaving a few inches that you don’t pull through the warp as before.
Step 3: Finishing Off
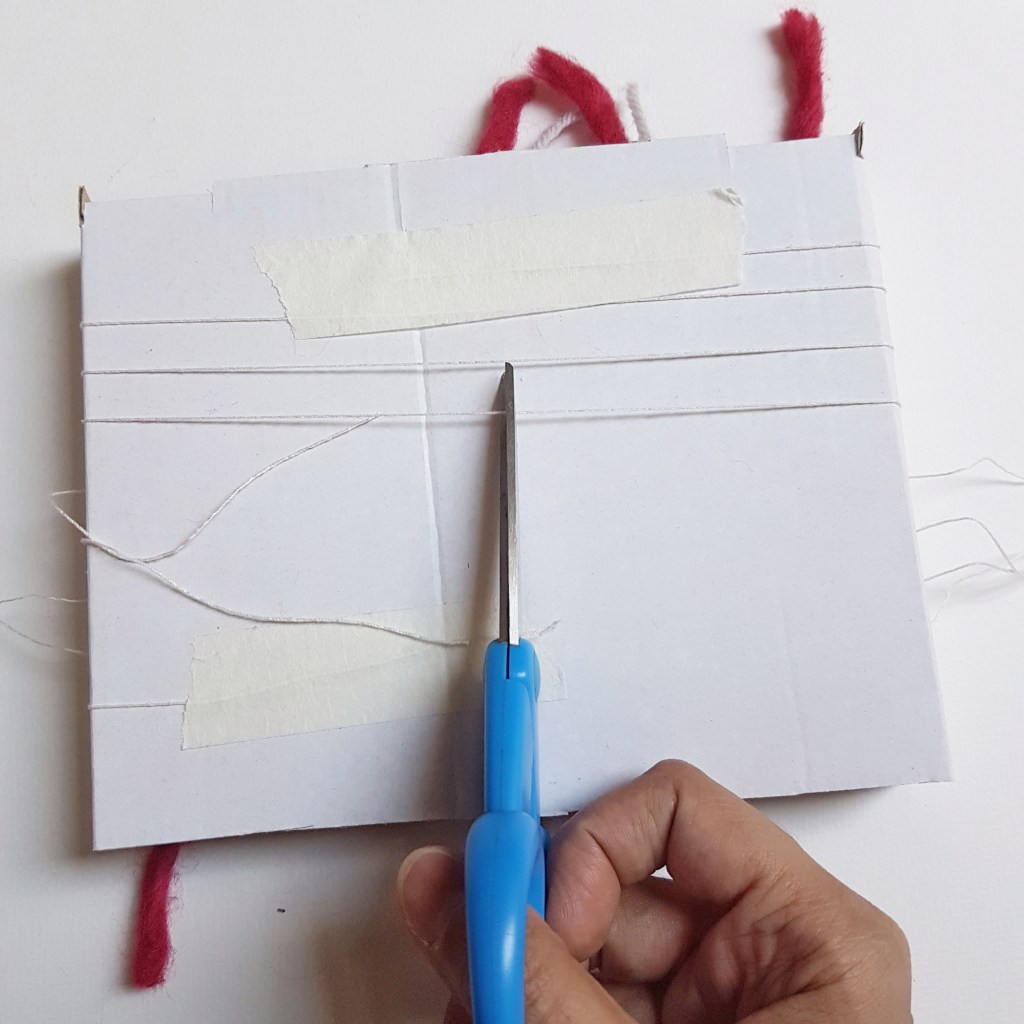
To remove your completed weaving, turn your loom over to the back. Cut through the middle of the warp threads.
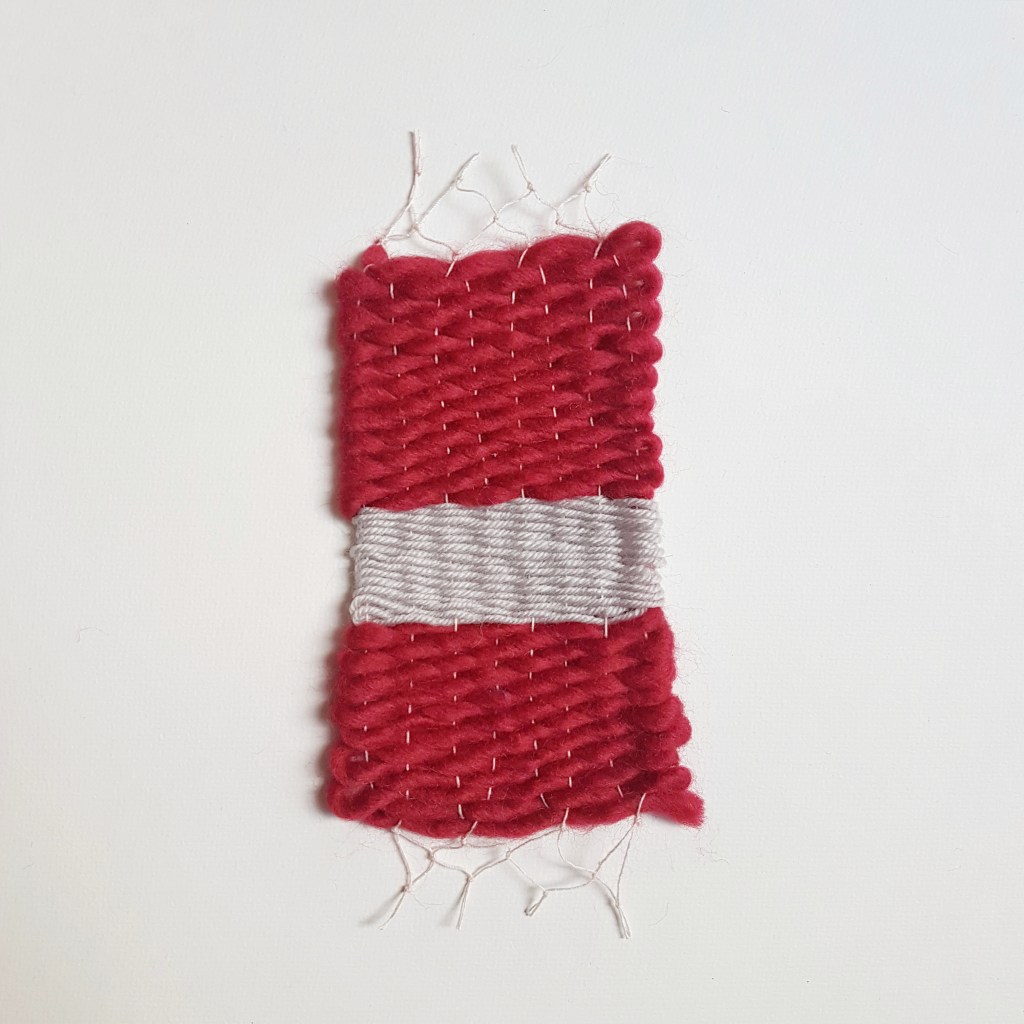
Turn the loom over and very carefully remove the weaving off the loom. Be gentle as possible! Next, tie consecutive pairs of the warp thread together to hold the weaving in place.

At this point turn your weaving over that push through the excess wool on the sides through your weaving. Alternatively, you can carefully trim the excess off.
I tried a bit of a macrame-esque finish on the warp thread though i think i would have preferred just trimming the warp thread.

One Comment